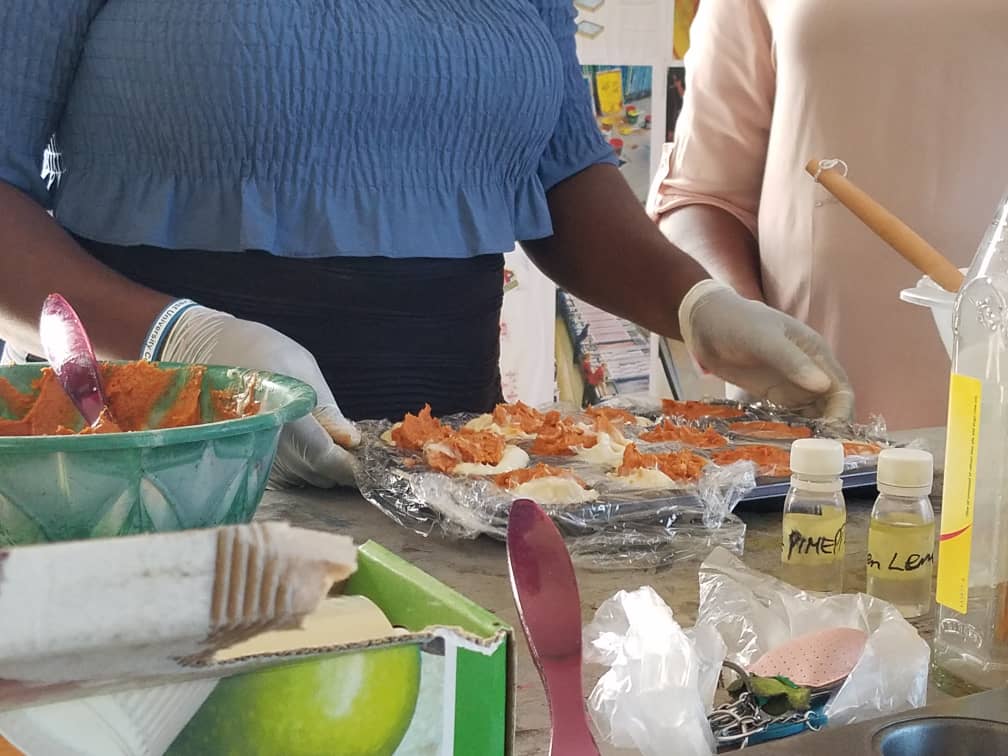
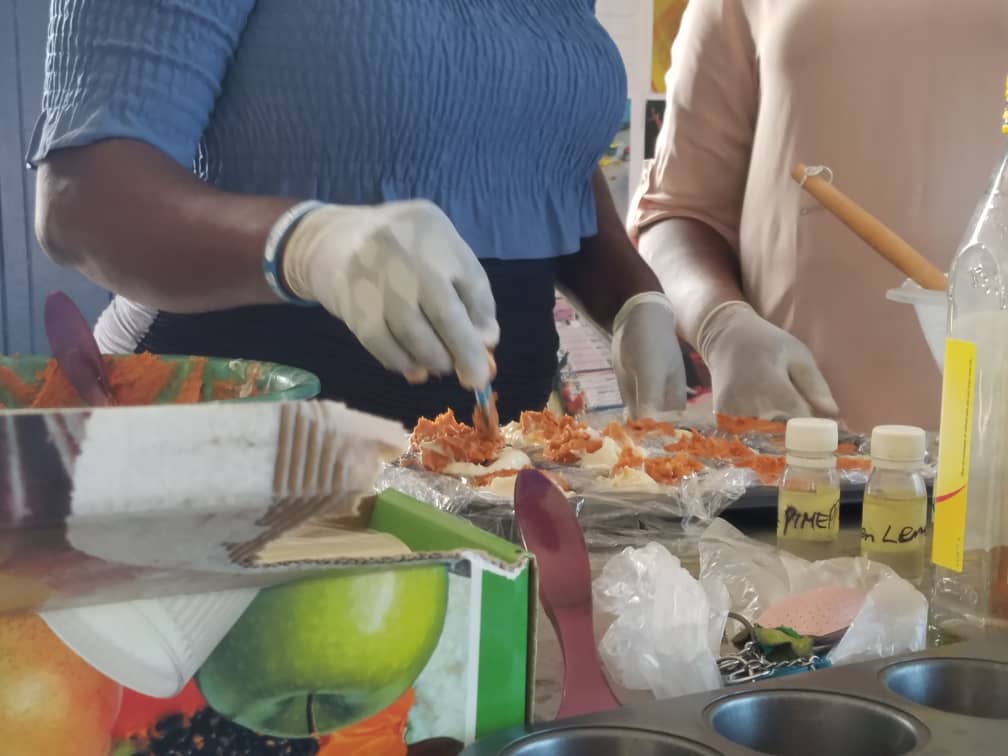
First, the beauty of making your own is that you can make it with the ingredients that you choose and the fragrances that you like. And adjustments aren’t hard but do take some practice. Further, most homemade soap recipes use ounces or grams and ingredients must be weighed to get good results.
But I’ve found a way to simplify the process by converting the ingredients to cups and portions of cups. Consequently, it’s much easier and you get the same results time after time.To make soap completely from scratch (as opposed to melt and pour with premade soap bases), you’ll need to use lye, which is a caustic salt known as sodium hydroxide. The chemical reaction between lye and oil ingredients is called saponification , which creates soap (and leaves no lye in the finished product).

The one thing in homemade soap you can’t substitute is lye. You should always use 100% sodium hydroxide, or lye in crystal form. Don’t substitute liquid lye or drain cleaners such as Drano. These may cause inaccurate measurements or have bits of metal in them. You don’t want either.
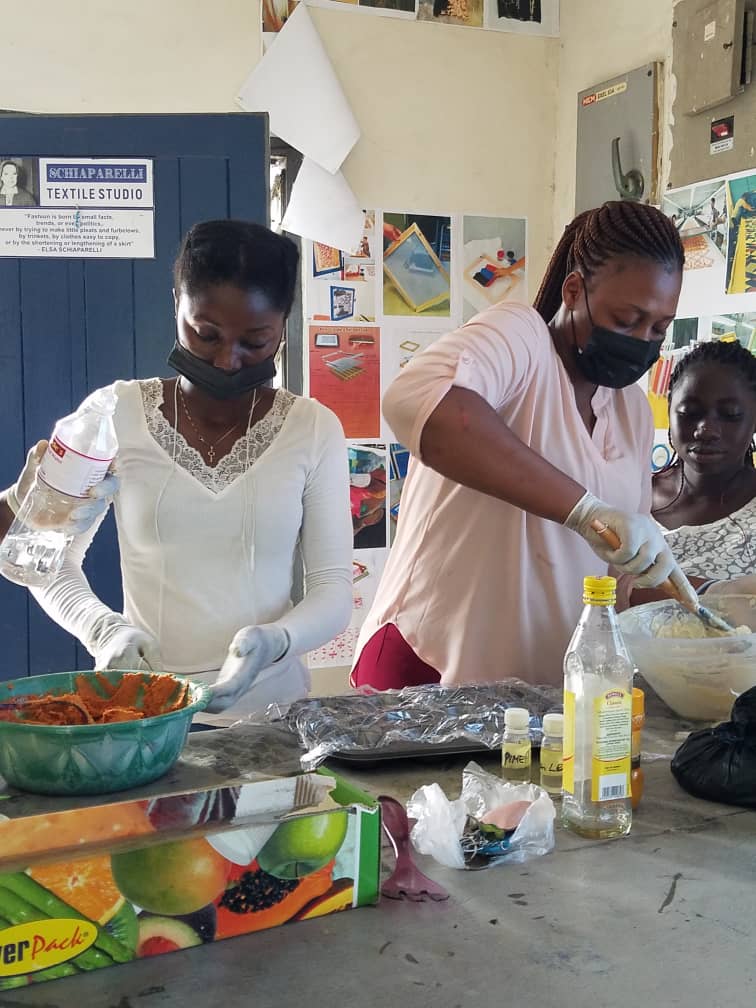
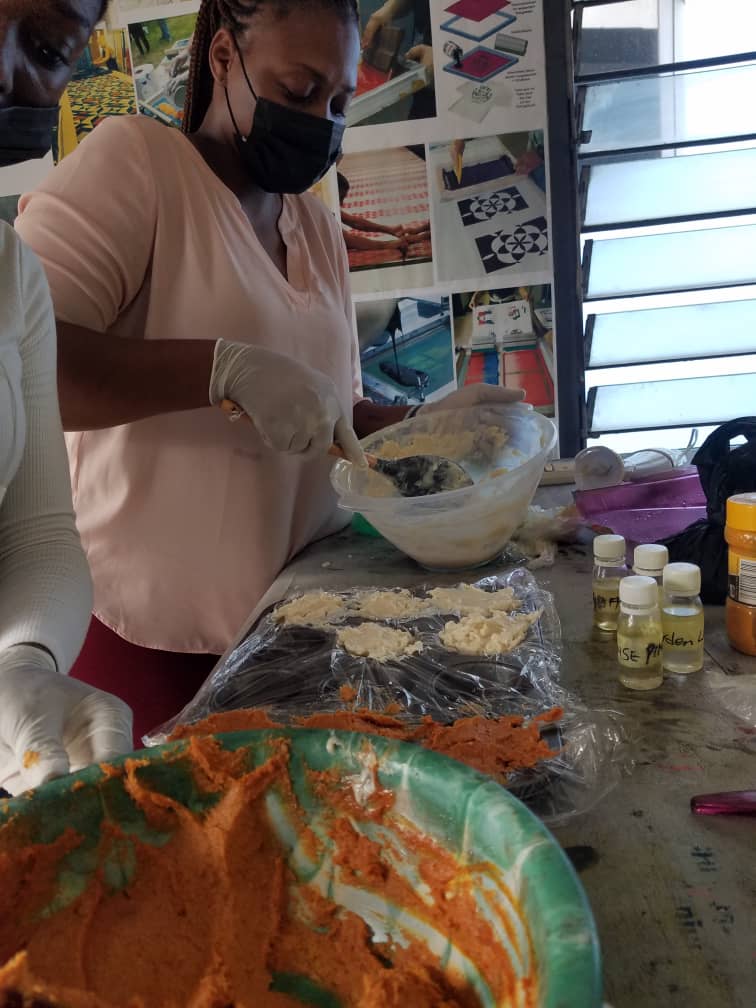
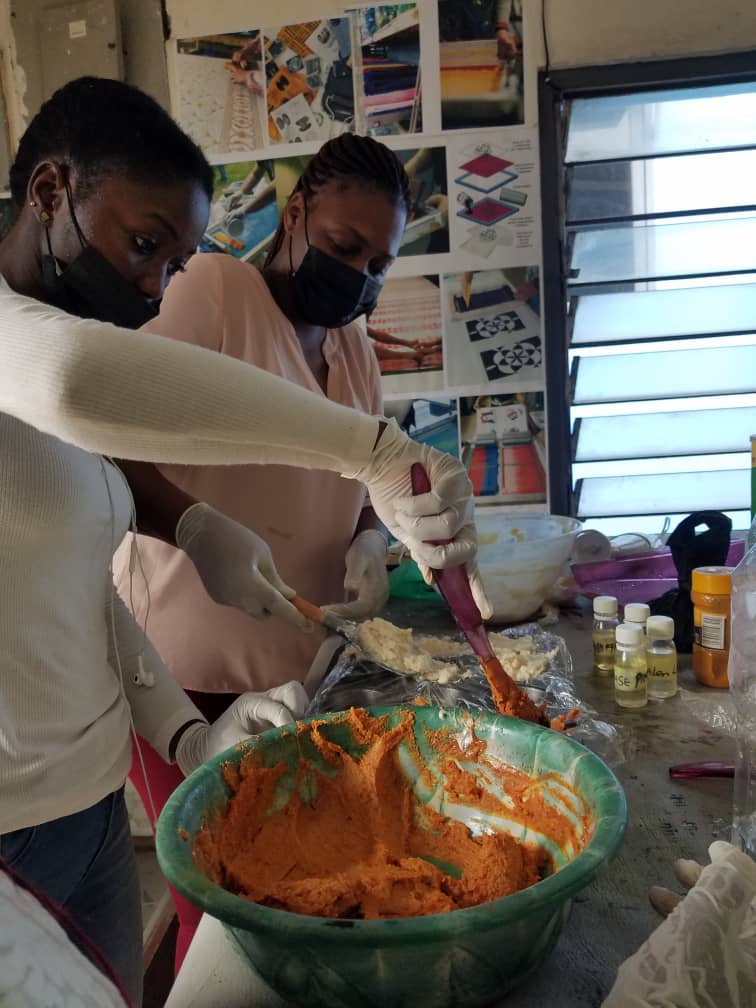
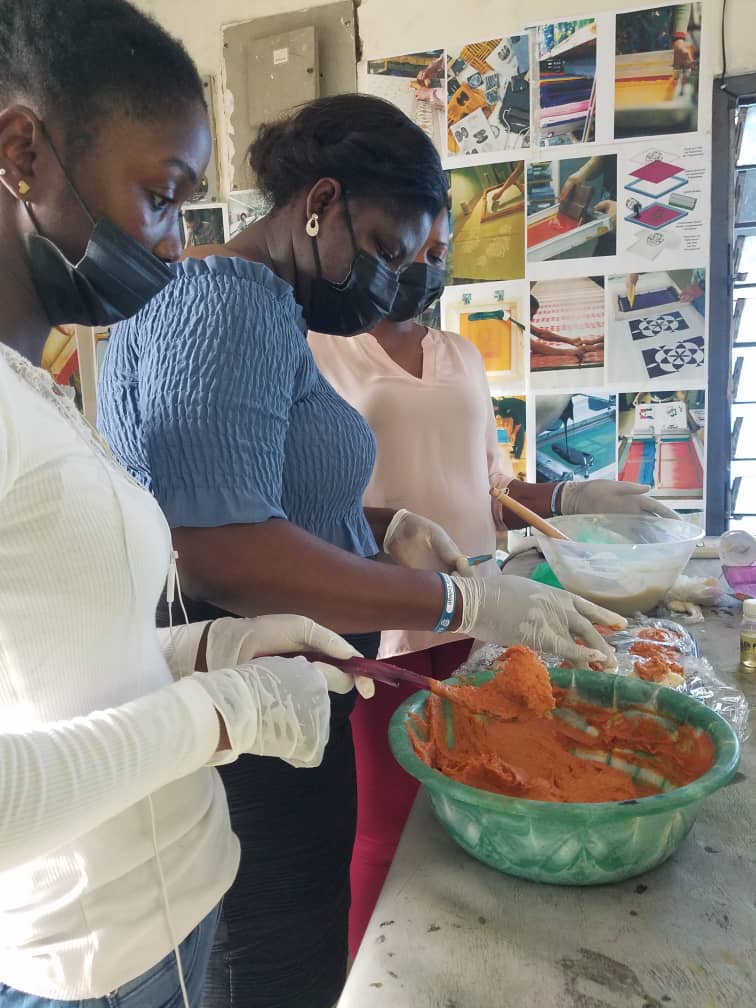
Lye is caustic. It can eat holes in fabrics and cause burns on your skin. Always be extra careful when using lye. Use gloves and eye protection and a mask if desired. When you mix the lye with water, it will heat up and fume for about 30 seconds to a minute. It may cause a choking sensation in your throat. Don’t worry, it’s not permanent and will go away after a few minutes. Always add lye to the water (not water to lye), and start stirring right away. If allowed to clump on the bottom, it could heat up all at once and cause an explosion
There are four common methods you can use to make soap: melt and pour, cold process, hot process, and rebatching. Before diving into your first batch of homemade soap, familiarize yourself with the four most common methods of soapmaking. Some of these processes are easier than others. Knowing how each one works will help you decide which tutorials you want to tackle.
- The melt and pour process is not soap from scratch. Instead, pre-made soap bases are simply melted and molded, and you don’t have to touch any lye.
- The cold process and hot process are both techniques for making soap from scratch. The more popular cold process takes longer than the hot process, and the hot process creates more rustic-style soap. Both methods include working with lye.
- Rebatching is remaking a bad batch of finished homemade soap. It’s a way to save all the ingredients, but it’s labor and time-intensive and often results in less aesthetically-pleasing soap.